Introduction
https://dj-painting.ie/house-painting-costs-in-dublin-what-to-expect-and-how-to-budget-effectively/A well-maintained home is a joy to live in and can even increase property value. One of the most effective yet often overlooked ways to maintain your home's aesthetic appeal is through touch-up painting. In this comprehensive guide, we will explore A Step-by-Step Guide to Touch-Up Painting Between Major Projects, providing you with insights on techniques, tools, and considerations for ensuring that your home stays vibrant and inviting.
What is Touch-Up Painting?
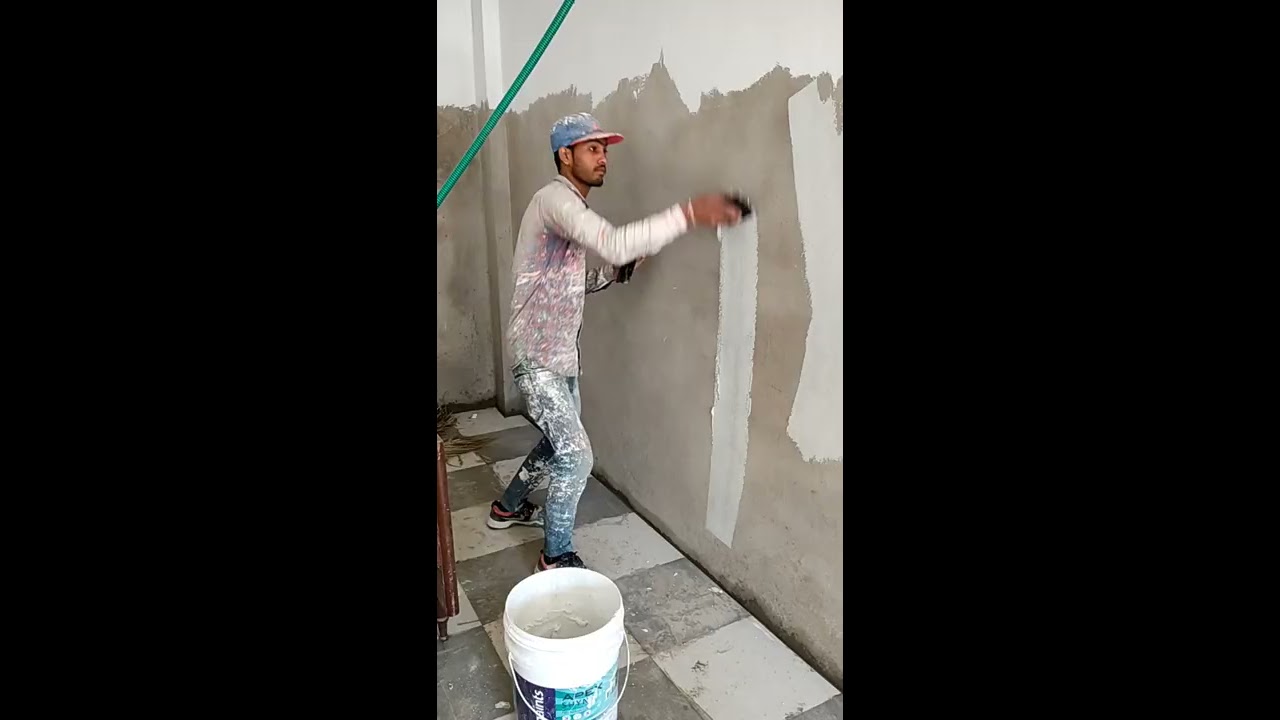
Touch-up painting refers to the practice of applying paint to specific areas of a wall or surface that may have been scuffed, chipped, or faded without the need for a complete repaint. This method is not only cost-effective but also time-efficient, allowing homeowners to keep their spaces looking fresh between major renovations.
Why is Touch-Up Painting Important?
- Cost Savings: Instead of investing in an entirely new paint job, touch-ups allow you to maintain your home's appearance at minimal expense. Time Efficiency: A full paint job can take days or even weeks; touch-ups can often be done in just a few hours. Preservation: Regular touch-ups prevent small issues from escalating into larger problems requiring major repairs.
A Step-by-Step Guide to Touch-Up Painting Between Major Projects
Step 1: Assess the Damage
Before diving into any painting project, it's crucial to assess where the touch-ups are needed.
Identify Areas Needing Attention
- Look for scuffs and scratches on walls. Check for peeling or chipping paint. Examine corners where furniture might have rubbed against walls.
Step 2: Gather Your Supplies
To ensure a smooth touch-up process, gather all necessary materials before starting.
Essential Supplies List
| Item | Purpose | |------------------------|----------------------------------------------| | Paint | The same color as existing walls | | Primer | For areas with significant damage | | Paintbrushes/Rollers | For application | | Painter’s Tape | To protect adjacent surfaces | | Drop Cloths | To protect floors and furniture |
Step 3: Prepare the Area
Preparation is key when it comes to achieving a seamless finish.
Protecting Surroundings
- Use painter’s tape around edges. Lay down drop cloths to catch any drips or spills.
Step 4: Clean the Surface
Dirt and grease can interfere with paint adherence.

Cleaning Tips
- Use warm soapy water for light stains. For tougher marks, consider using rubbing alcohol or a commercial cleaner.
Step 5: Apply Primer if Necessary
If you're dealing with bare patches or areas of significant damage, priming might be essential.
Why Use Primer?
Primer helps seal surfaces for better adhesion and provides a uniform base for the topcoat.
Step 6: Mix Your Paint Thoroughly
Ensure that your paint has been mixed well before application for consistent color.
Step 7: Test Your Color Match
Doing a small test patch will help verify that your touch-up paint matches well with existing colors.
Step 8: Apply Your First Coat
Using your brushes or rollers, apply your first coat of paint carefully over the damaged area.
Step 9: Allow Time to Dry
Waiting is critical! Ensure that each coat dries completely before applying another layer or removing tape.
Step 10: Evaluate Results After Drying
Once dry, check if additional coats are necessary by assessing coverage and blending with surrounding areas.
FAQs About Touch-Up Painting
How do I know if my paint needs touching up?- Look for visible scratches, chips, or discoloration; these are signs indicating it may be time for touch-ups.
- Yes! Just ensure it hasn't dried out or separated too much; mixing it thoroughly will help restore its consistency.
- Home improvement stores often offer color matching services; bring in a sample if needed!
- Not always! Only use primer on bare spots or areas where the previous finish has deteriorated significantly.
- Typically, two hours is sufficient for latex paints; however, follow manufacturer instructions on drying times as they vary widely.
- Absolutely! Professional painters can help ensure a flawless finish while saving you time and effort.
Conclusion
Maintaining your home’s exterior and interior through regular touch-up painting can greatly enhance its overall appeal and longevity. By following this detailed guide on A Step-by-Step Guide to Touch-Up Painting Between Major Projects, you'll be equipped with everything you need—from preparation techniques to finishing touches—to tackle minor repairs effectively. Whether you're planning future major projects or simply want your home looking its best between them, understanding how touch-up painting works will empower you as a homeowner in Dublin!
Feel free to reach out with any more questions about house painting contractors in Dublin or other related topics!